creating beauty and warmth where you live

Friday, June 10, 2011

20% Off At Vintage Townsquare This Weekend

It has been so much fun running my shop on Etsy, Vintage Townsquare.  I started this venture last August.  I enjoy every aspect of it.  The shopping, listing and shipping of every item.  

I love using vintage touches throughout my home.  Having a collected look is so on trend right now as evidenced by most homes you see in magazines. 

Vintage Townsquare has recently reached 100 Facebook followers, to celebrate I am offering a 20% coupon code.  This is especially for my Facebook followers as a way of saying, "Thank you so much"!!

To learn the coupon code, Like us right now and shop all weekend long!  Simply click below.  


Here is a sampling of some items currently listed in the shop.

From the Travel and Recreation category:
From the It's All White category:

From the Farmhouse Fresh category:

And a whole lot more goodies!!  This sale is the perfect time to buy something for yourself and a friend.  Have fun shopping!   

And the link again:

Vintage Townsquare on Facebook

Post edit:  This sale is expired. 


Thanks for stopping by!  Libby~

Monday, June 6, 2011

How We Refinished The Buffet

First, let me say how much it means to receive so many nice comments on my finished buffet.  That is almost as rewarding as the finished piece!

As promised, here are the steps we took in refinishing the buffet.  If you missed the first post, click here to read.  

We didn't take pictures while we worked.  But that is OK as this is not really intended to be a step by step tutorial.  There are other bloggers with some really good ones.  I highly recommend Shaunna at Perfectly Imperfect and Mariann at Miss Mustard Seed.    

I painted two coats with Annie Sloan's Chalk Paint in Louis Blue.  I found the paint did become thicker the longer the can was open.  This led to more visible brush strokes after the second coat.  One of the nice things about this paint is that you can easily add water to achieve a lighter color or thinner consistency.  This also leads to an easy clean-up!

This whole process was completely an experiment as we (my husband and I worked on it together one Saturday) had never worked with chalk paint before.  We used a very fine sanding block to remove brush marks.  This paint sands so easily!  We then distressed it in various areas.  Again, a breeze. 

Because we had it on hand, we used Ralph Lauren Tinting Glaze in Cottage Hill to added some age to the buffet.  We diluted this, two parts glaze and one part water.  My husband wiped it on and I came behind him and wiped it off.   I found that this glaze had some green undertones.   


We then used Minwax, Paste Finishing Wax in Natural.  Again, this was the wax we had on hand.  


We put it on much like you would on a car in a circular motion.  Waited about 15 minutes, then used a soft cloth to buff to a nice shine. 

It was really after the wax was buffed that this piece really began to sing!  The wax brings out the beauty of the chalk paint and the distressing.  Up to that point, I wasn't sure.  The longer we buffed, the more I smiled!  The wax brought out the old-world patina I was looking for.   We chose to use the existing hardware.

And for those who have difficulty with me painting an old piece of furniture, I have to say that I feel I gave this buffet it's second life.  I never would have bought it in the first place without planning on painting it.  Before, it looked too Victorian and granny.  Now, it feels fresh and modern with a European antique style.  I believe we will enjoy this buffet for years to come. 

A reminder of how it looked before.


And some more "afters" of my treasure!


Thanks for visitng!  Libby~

Linking to the following parties!


Debbiedoos Blogging and Blabbing Newbie Party


Between Naps on the Porch for Metamorphis Monday


Thursday, June 2, 2011

Hold On To Your Fork

With a post title like that, I am sure you are probably wondering about me.  No worries...just excited to share about a new print I received that I had ordered from Emily at Jones Design Company.  

What's the scoop you ask?  Well, recently Emily blogged about a story I heard some years ago that had special meaning to me. You really want to hear her tell it.  There is a link provided below at end of this post.  

After reading Emily's story, I and others suggested she make this into one of her fabulous art prints that she sells. 

Just let me say, this girl has some serious design talent.  I love her creations.  Her blog is a feast for the eyes, her home is beautiful.


Gor-ge-ous, right?  AND she is the mother of four!  You really must visit her site.   But don't go just yet.  

Back to the print.  So Emily did just that.  She now offers this print along with many others!  Here are a few.


However, I contacted Emily to see if she would add a line for me at the bottom of the print.  Happily for me, she was willing to do that and at no extra charge!  I very quickly received my order by mail.  

It was so nicely packaged!  It arrived in a sturdy mailer and enclosed in a clear plastic sleeve. 


She also enclosed a gift certificate for a discount on a future purchase!  That sure puts a smile on the customers face! 

So here is my print.  Can't wait to get a frame and decide exactly where I want to hang it.  

 
Yes, the Best Is Yet To Come!

It was just a pleasure doing business with Emily.  First-class and professional all the way.  

BTW.  Jones Design Company is not compensating me.  I don't receive anything for free from this post and neither will you.  It is just that when you meet someone that exceeds your expectations, you want to let others know about her.  That is one of the wonderful things about the blogging community.  

Plus, I just like supporting those women out there who are building their business, raising a family and living their dream!   

Now, please visit Emily's site, Jones Design Company, read the rest of the story and see what you want to order today!  She also offers many helpful tutorials.

AND, every month she offers a FREE giveaway!  Be sure to check out the June giveaway going on right now.  


Have you recently done business with someone who impressed you?  Do share!

Thanks for stopping by!  Libby~ 

I don't know why I have spacing issues.  It always looks fine when I write it but not when I publish it.  

Tuesday, May 31, 2011

My Louis Blue Chalk Paint Buffet

You may remember that a couple of months back I purchased two pieces of furniture that I was so excited about.  I found them on eBay classifieds.  These listings are usually just for local sales.  More like Craig's List.  Here is the post when I shared about my finds.

The buffet was going to be used in the foyer.  I knew I wanted to try out the chalk paint that everyone has been using but I couldn't decide which color.  After some deliberation I decided to use Louis Blue.  I remember the day the paint arrived I was so excited I couldn't open the package fast enough.  Unfortunately, this is what greeted me. 

Yup, the paint can had popped opened during shipping.  Good for me, kind Virginia, at Southern Institute of Faux Finishing in Mississippi, the placed I had ordered from, immediately made it right.  Two days later I received another can and this one was in tip top shape.

Here is the buffet before in all of it's 1920's glory.
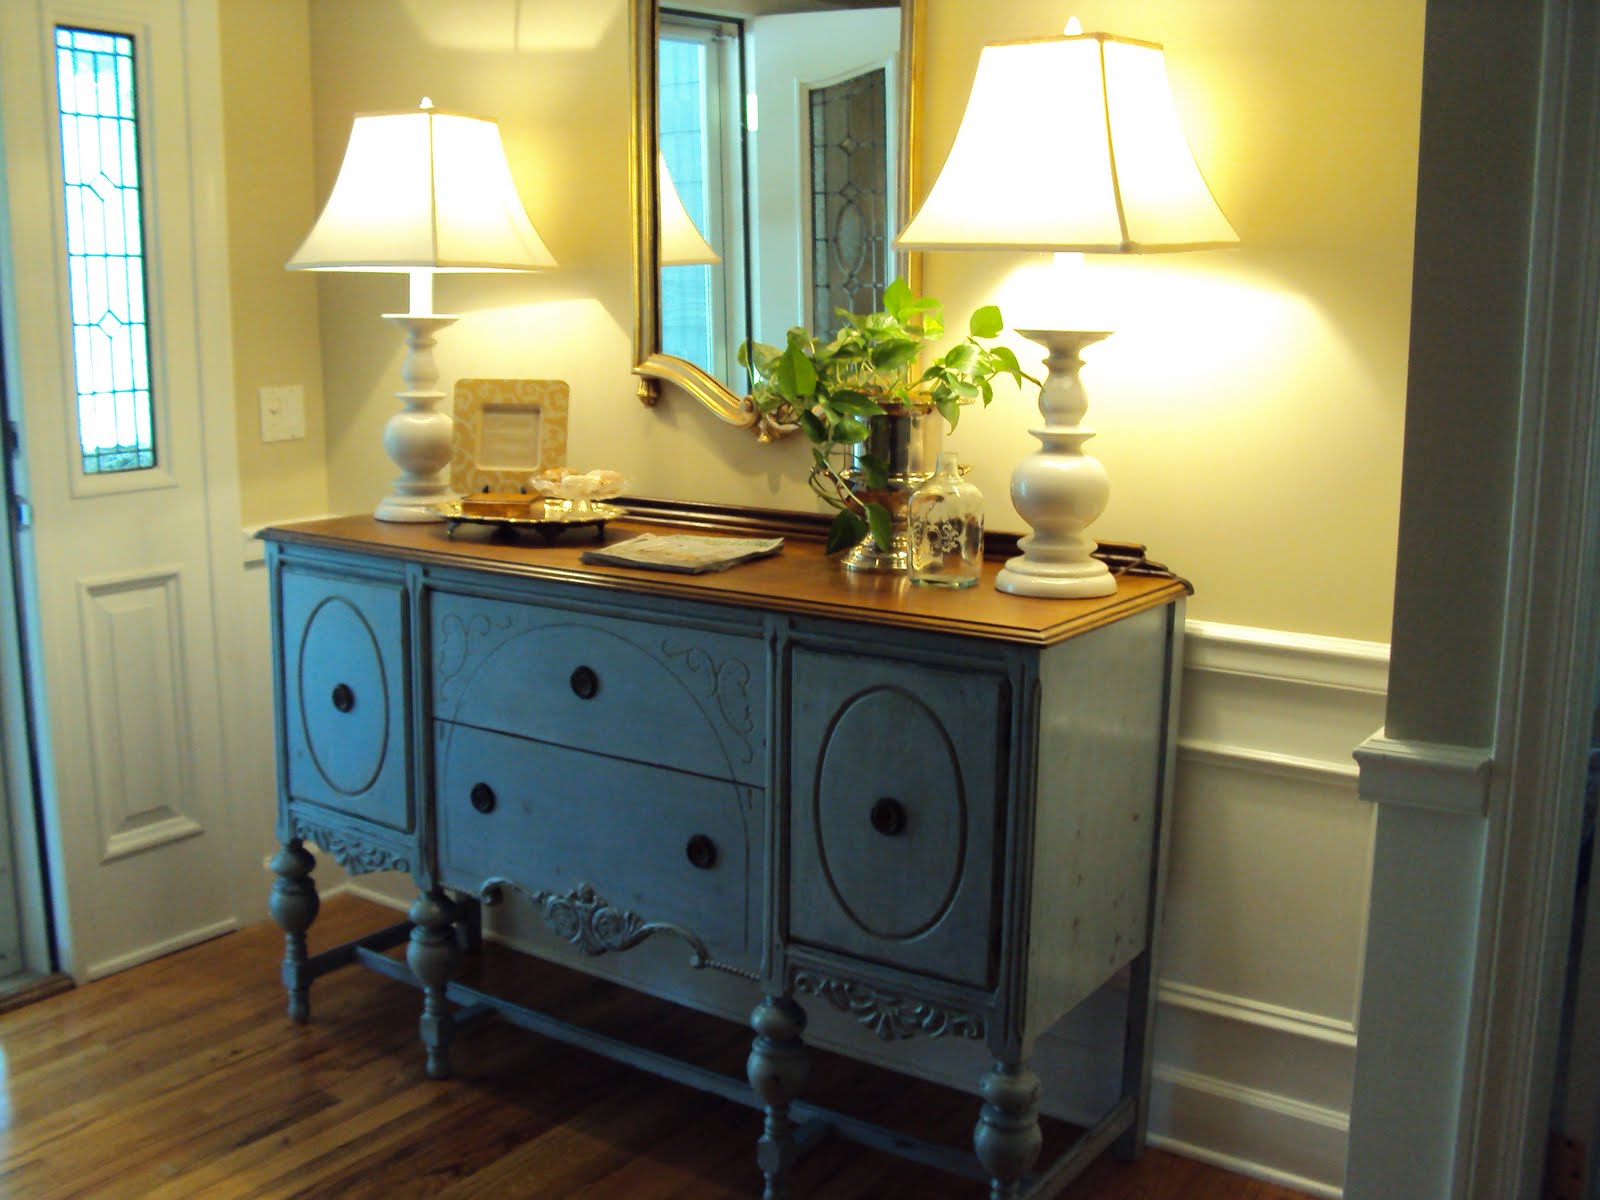
And the reveal!!


Last Saturday, my husband and I finished up this project and I couldn't be happier with the results.  Like many others, (namely Miss Mustard Seed) I chose to leave the top as is.  I just polished it with some Old English.


We removed the decorative piece that was centered on top as we felt it competed some with the mirror.

 
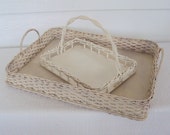
With having the piece finished I decided to change some things around for a fresh summer look.  I brought my two white lamps from another room.  On one side I added a silver tray with a small frame, wooden box and sea shells.  


On the other side I added a pretty etched glass bottle from Portugal and continued using my silver wine cooler as a planter.  


From another view
    
And a final view with the lamps on.

I'll be back with more details on how we achieved the finished effect.  It seems everyone uses a little different process. Again, I couldn't be happier.  I just smile every time I pass it now! 

Thanks for stopping by!!  I love to read your comments!  Libby! 

**pointed out by Annie Sloan herself - it is Louis Blue not Louie Blue - Thanks Annie! correction is made**   


Linking to the following parties:

Wow Us Wednesday at Savvy Southern Style

Tabletop Tuesday at a Stroll Through Life

Home Decor and Organizing Link Party at Organize and Decorate Everything

Piece of Work Wednesday Furniture Link Party at Primitive & Proper

Furniture Feature Friday at Miss Mustard Seed

UPDATE:  To see how we refinished the buffet, click here.

Sunday, May 29, 2011

Score!! An Old Wooden Framed Picture For a Project

For some time I have been on the lookout for a large picture and frame that I could turn into a blackboard for our great room.  

I had seen this look here and here.

The frame needed to be chunky and of course wooden.  The older, the better.  The picture needed to have a smooth finish so that it could be spray painted with chalkboard paint and then easily write upon.  And of course the price needed to be as close to zero as I could get it. :-)

Last week I was in a thrift store close to my home and spied something that I thought could work.  

Wooden chunky old frame?  Check
Large enough to fit the space needed?  Check
Smooth finish picture?  Check
No smoke or bad odors to contend with?  Check
Lowest price possible?   Check, check and  check

This is the before:

What's that?  How much did I pay for this?  Thought you would never ask!

 
Less than $10!!  That is pretty close to zero and that is my kind of deal!

It has a rather nice scenic picture in it really.  A  charming English cottage on the water.  Sorta hated to spray paint over it.  But I don't want another picture in this room and besides, the chalkboard spray paint will give it it's second life.    

Some close-ups of the frame. 


I was happy to see that the picture also had a nice hanging wire already installed.  


So I removed the picture from the frame, took it to my back covered deck and spray painted it.  It took two coats of Krylon Chalkboard paint in black.  Reassembled the frame and added a patriotic message for Memorial Day.  Here is the final reveal:


I did add some Rub n' Buff in Antique Gold in a few places on the frame just to brighten it a bit. 


To celebrate Memorial Day, I also added a couple of flags to a plant on the front porch.  We enjoy proudly displaying our beautiful Red, White and Blue!


Happy Memorial Day!! 
We honor those who have and are serving in all the armed forces for our nation.  God Bless You!!

Thanks for stopping by!  Libby~

Linking up to:


Debbiedoos Blogging and Blabbing Newbie party
Between Naps On The Porch for Metamorphis Monday
Coastal Charm for Nifty Thrifty Tuesdays
Southern Hospitality for Thrifty Treasures