creating beauty and warmth where you live
Showing posts with label chalkboard. Show all posts

Sunday, May 29, 2011

Score!! An Old Wooden Framed Picture For a Project

For some time I have been on the lookout for a large picture and frame that I could turn into a blackboard for our great room.  

I had seen this look here and here.

The frame needed to be chunky and of course wooden.  The older, the better.  The picture needed to have a smooth finish so that it could be spray painted with chalkboard paint and then easily write upon.  And of course the price needed to be as close to zero as I could get it. :-)

Last week I was in a thrift store close to my home and spied something that I thought could work.  

Wooden chunky old frame?  Check
Large enough to fit the space needed?  Check
Smooth finish picture?  Check
No smoke or bad odors to contend with?  Check
Lowest price possible?   Check, check and  check

This is the before:

What's that?  How much did I pay for this?  Thought you would never ask!

 
Less than $10!!  That is pretty close to zero and that is my kind of deal!

It has a rather nice scenic picture in it really.  A  charming English cottage on the water.  Sorta hated to spray paint over it.  But I don't want another picture in this room and besides, the chalkboard spray paint will give it it's second life.    

Some close-ups of the frame. 


I was happy to see that the picture also had a nice hanging wire already installed.  


So I removed the picture from the frame, took it to my back covered deck and spray painted it.  It took two coats of Krylon Chalkboard paint in black.  Reassembled the frame and added a patriotic message for Memorial Day.  Here is the final reveal:


I did add some Rub n' Buff in Antique Gold in a few places on the frame just to brighten it a bit. 


To celebrate Memorial Day, I also added a couple of flags to a plant on the front porch.  We enjoy proudly displaying our beautiful Red, White and Blue!


Happy Memorial Day!! 
We honor those who have and are serving in all the armed forces for our nation.  God Bless You!!

Thanks for stopping by!  Libby~

Linking up to:


Debbiedoos Blogging and Blabbing Newbie party
Between Naps On The Porch for Metamorphis Monday
Coastal Charm for Nifty Thrifty Tuesdays
Southern Hospitality for Thrifty Treasures

Tuesday, November 23, 2010

Chalk Board Projects

For some time I have enjoyed reading how others in blog land used chalk board paint for different projects around the home.  Janelle of Isabella and Max Rooms talked about it here with her Family Message Center.    Leanne at Organize and Decorate Everything showed us how to make Chalk Board Tags here.   Marian at Miss Mustard Seed showed us how to make Chalkboard Kitchen Canisters here.  Leslie from Goodbye House Hello Home showed how she painted a whole wall to use as a chalkboard here. 

Anyway, all of this chalkboard talk whetted my appetite to do something with chalkboard paint too.  I decided I wanted chalkboard labels for my white kitchen canisters.  But because I am always looking for easier, simpler, I thought why not just buy chalk board labels.  So, I first began visiting local craft stores hoping to buy chalkboard labels.  

No. Nuh-huh.  Doesn't exist or out of stock for-eva!  Finally, I happened upon some chalkboard Wallies on clearance (60%!!) at Hancock Fabrics.  The pieces were for a children's bedroom.  But I figured I could improvise.


So I gathered my supplies. I found some shapes I liked online.  My daughter helped me graduate the sizes using photo shop. 


I traced around the shape with red ink then cut them out. 
easy peasy and no spray paint involved  
I got the look I wanted without using paint.  And here is the finished project:


I think projects like these just add fun and personality to your home.  Don't you?  I then decided to go a step further  'cause I still wanted to try out chalkboard spray paint.  I purchased some old picture frames from my local thrift store.

I brought them home and disassembled them, meaning I took the art out of the frame.  Here they are laid out on drop cloth.


And I laid out all my spray paint.  Some of the frames I painted brown, some black and one red.  After the frames dried I then sanded and distressed them.  On some I applied gold Rub 'n Buff.  Some of the frames I primed and some I didn't. I learned that if you are going to distress something you painted, it might be easier not to prime as the prime makes the paint adhere better.  I definitely wanted an aged and weathered look so I chose not to prime the next ones.  

The "art" or backing of the picture I painted with either black or green KRYLON chalkboard paint.  It took 3 light coats to sufficiently cover them.  I found the chalk board spray paint at my local Ace Hardware. I apologize that I didn't take more pictures during the process.  I then reassembled the frames and here are a few pictures of what I came up with.


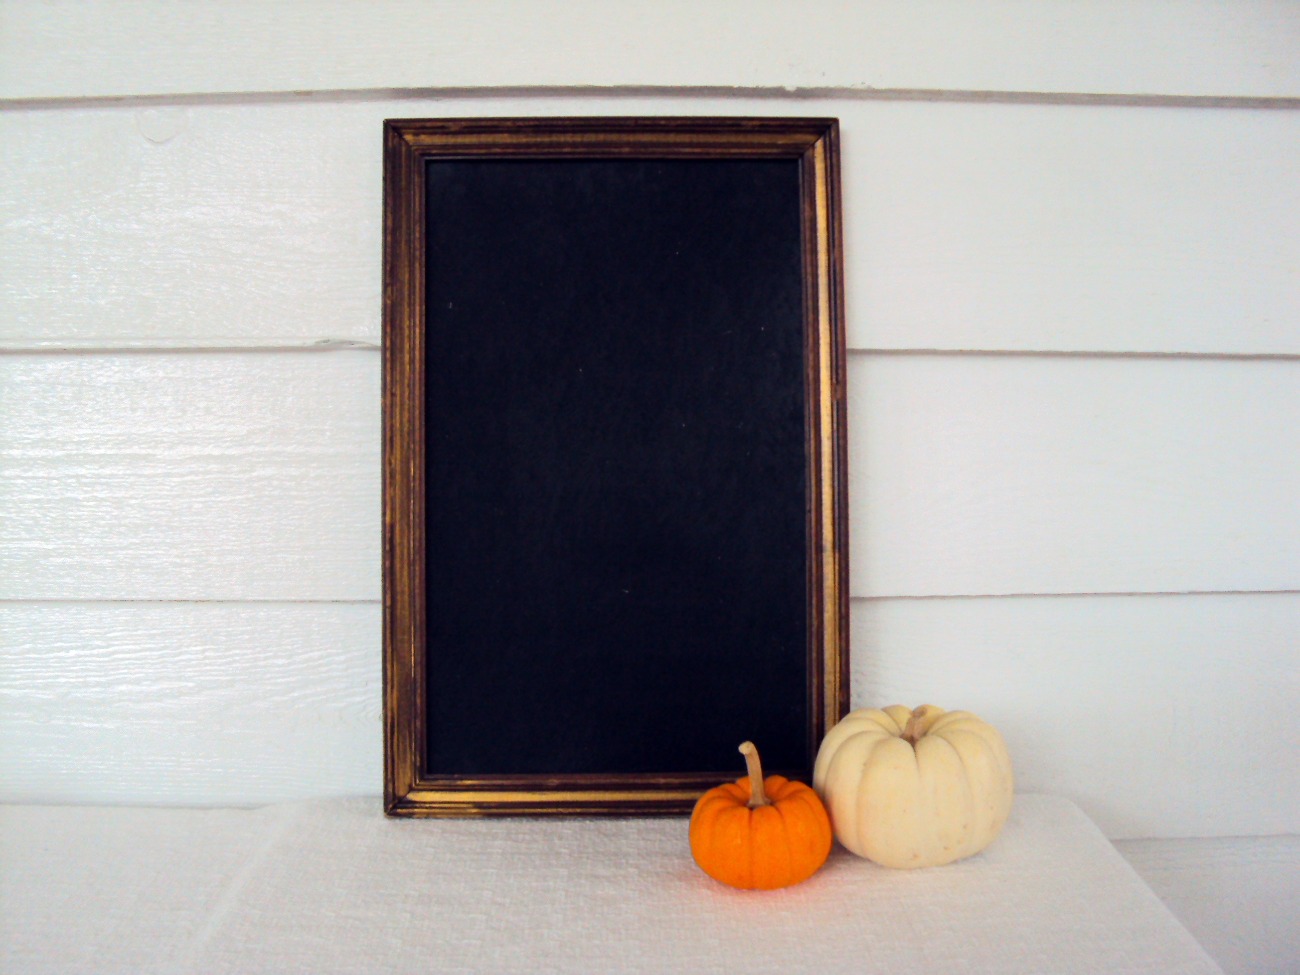
Neat, huh?  These have been listed in my shop, Vintage Townsquare and two have already sold!  I will definitely be making more and listing them soon.  Chalkboards are especially fun to have around during the holidays, to keep track of your to-do list, write a message to your guests or simply post your holiday greeting.  You can also answer the never ending question, "What is for dinner?" 

Growing up my mom had a black chalkboard hanging in the kitchen for messages to family members and grocery shopping lists. It is still there today, 40+ years later!   

Check back later this week as I am doing a nice give away for my shop, Vintage Townsquare.  You don't want to miss it!

What projects have you done using chalkboard paint?  Do you use a chalkboard in your home somewhere? 

Thanks for stopping by!  Libby